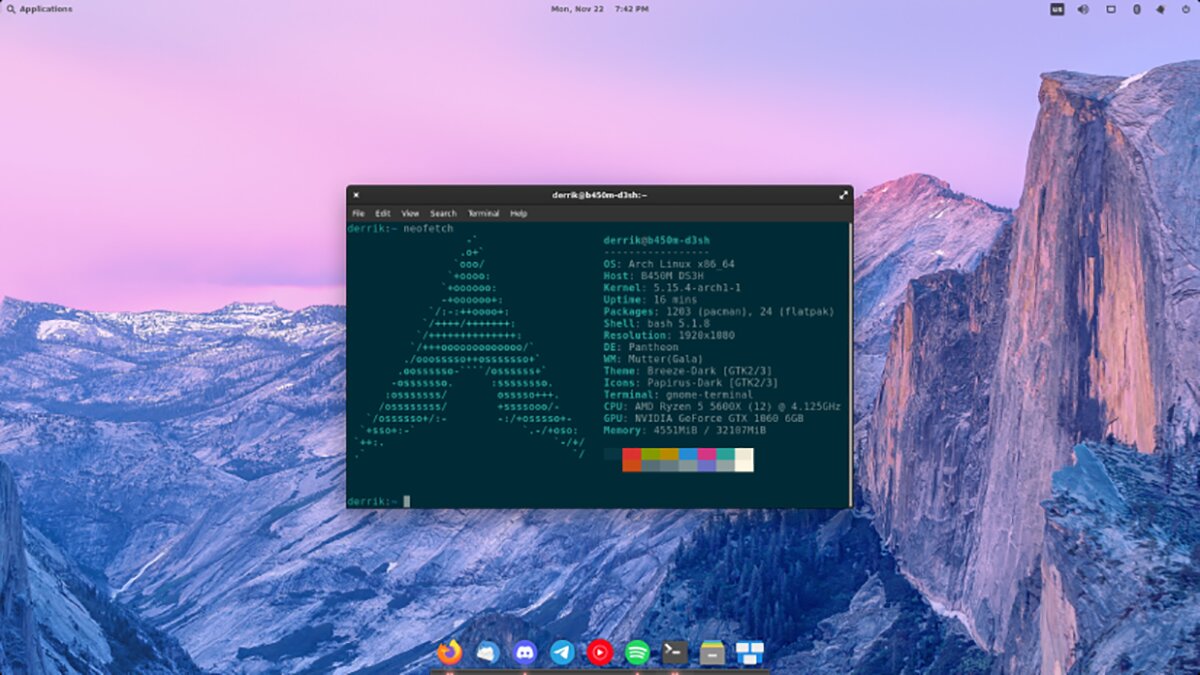
Installing Arch Linux on Asus TUF
Arch Linux, a lightweight and flexible Linux® distribution that tries to Keep It Simple.
Preparing for Installation
Before you begin the installation process, it’s important to prepare your computer and gather the necessary tools:
Backup Your Data
Installing a new operating system involves wiping your hard drive, so it’s important to backup any important data beforehand.
Check System Requirements
Arch Linux requires a minimum of 512MB RAM and 2GB storage space. Check that your Asus TUF meets these requirements.
Download Arch Linux ISO
Download the latest Arch Linux ISO image from the official website: (https://archlinux.org/download/) and
Create Bootable USB Drive
Create a bootable USB drive with the Arch Linux ISO image using a tool like Rufus or Etcher.
Installing Arch Linux
Once you’ve prepared your computer and gathered the necessary tools, you’re ready to install Arch Linux on your Asus TUF:
Step 1: Boot from USB Drive
Insert the USB drive into your Asus TUF and boot from it by accessing the BIOS or UEFI settings and changing the boot order to prioritize the USB drive.
Step 2: Connect to the Internet
Connect to the internet using the following command:
Replace <SSID> with the name of your Wi-Fi network.
Step 3: Partition the Hard Drive
Use the fdisk command to partition your hard drive. Here’s an example partition scheme:
| Partition | Size | Type |
|---|---|---|
| /dev/sda1 | 512MB | EFI System |
| /dev/sda2 | 8GB | Linux swap |
| /dev/sda3 | Remaining space | Linux filesystem |
You can use the following commands to create the partitions:
1
2
3
4
5
6
7
8
9
10
11
12
13
14
15
16
17
18
fdisk /dev/sda
n
p
1
2048
+512M
t
1
n
p
2
1085440
+8G
n
p
3
+8G
w
Step 4: Format the Partitions
Format the partitions using the following commands:
1
2
3
4
mkfs.fat -F32 /dev/sda1
mkswap /dev/sda2
swapon /dev/sda2
mkfs.ext4 /dev/sda3
Step 5: Mount the Partitions
Mount the partitions using the following commands:
1
2
3
mount /dev/sda3 /mnt
mkdir /mnt/boot
mount /dev/sda1 /mnt/boot
Step 6: Install Arch Linux
Install Arch Linux using the following command:
1
pacstrap /mnt base linux linux-firmware
Step 7: Configure the System
Configure the system by generating the fstab file, chrooting into the new system, and installing some basic tools:
1
2
3
4
5
6
7
8
9
10
11
12
13
genfstab -U /mnt >> /mnt/etc/fstab
arch-chroot /mnt
ln -sf /usr/share/zoneinfo/<Region>/<City> /etc/localtime
hwclock --systohc
nano /etc/locale.gen
locale-gen
echo "LANG=en_US.UTF-8" > /etc/locale.conf
echo "<Hostname>" > /etc/hostname
nano /etc/hosts
passwd
pacman -S vim networkmanager
systemctl enable NetworkManager
exit
Replace <Region> and <City> with your geographic region and city, and replace <Hostname> with your desired hostname.
Step 8: Install a Bootloader
Install a bootloader, such as GRUB, using the following commands:
1
pacman -S grub efibootmgr
Step 9: Configure the Bootloader
Configure the bootloader by generating the GRUB configuration file:
1
2
grub-install --target=x86_64-efi --efi-directory=/boot --bootloader-id=arch_grub
grub-mkconfig -o /boot/grub/grub.cfg
Step 10: Reboot
Exit the chroot environment and reboot your system:
1
2
3
exit
umount -R /mnt
reboot
Conclusion
Congratulations, you have successfully installed Arch Linux on your Asus TUF! You now have a lightweight and customizable operating system that you can configure to your liking.

Comments powered by Disqus.